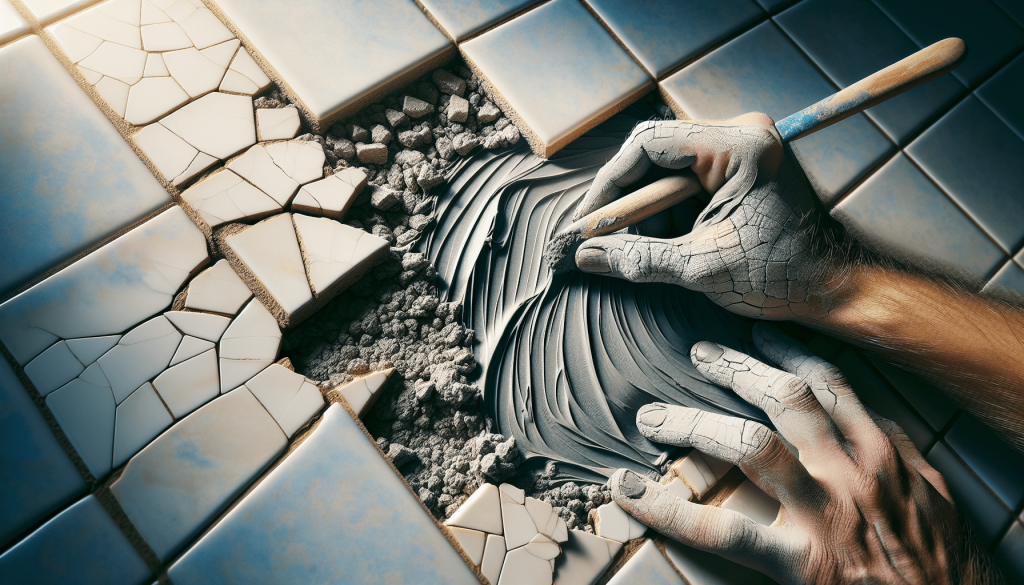
Have you ever looked at your bathroom and wondered why those tiles have lost their sparkle, or why the grout seems to be crumbling away? If so, you’re not alone. Many homeowners face similar issues as tiles and grout can wear down over time. This article will guide you through bathroom tile and grout repair, offering tips and insights to restore the charm of your bathroom. It’s not just about aesthetics; maintaining your tiles and grout can prevent water damage and save you from potential costly repairs.

Understanding Tile and Grout Damage
Before diving into the repair process, it’s essential to understand what causes tile and grout damage. Over time, wear and tear, exposure to moisture, and cleaning agents can lead to the deterioration of tiles and grout lines. Understanding these factors will help you prevent future damage and better maintain your bathroom.
Common Causes of Tile Damage
Tiles can crack, chip, or become displaced due to several factors. Knowing what these are can save you a lot of time and stress. For instance, heavy impacts, foundation shifting, or improper installation can cause such damage. Identifying these causes early can help you address issues promptly and avoid extensive repairs.
Grout Deterioration Explained
Grout, the material used to fill spaces between tiles, is susceptible to damage. It can crack, discolor, and deteriorate over time due to moisture exposure and mold growth. Changes in temperature and aging cleaning products can also play a significant role in the deterioration of grout in your bathroom.
Steps for Bathroom Tile Repair
Repairing your bathroom tiles doesn’t have to be an intimidating task. With the right guidance and tools, you can restore your bathroom to its former glory. Let’s explore the detailed steps involved in tile repair:
Assess the Damage
Start by inspecting your tiles to determine the extent of the damage. Some tiles might only have superficial scratches, while others may be cracked or loose. This initial assessment will assist you in deciding whether you need to replace or repair the tiles and if a professional is necessary.
Gather the Right Tools and Materials
Having the correct tools will make the repair process smoother and faster. Here’s a list of essentials you might need:
| Tool | Purpose |
|---|---|
| Tile adhesive | For securing loose tiles |
| Grout saw | To remove old grout |
| Tile cutter | To cut replacement tiles to fit |
| Notched trowel | For applying adhesive evenly |
| Replacement tiles | To replace damaged ones |
| Grout float | For applying new grout uniformly |
| Sponge and cloth | For cleaning and finishing the repair |
Replacing Broken Tiles
If you have broken tiles, the safest option is to replace them. Here’s a step-by-step guide:
- Remove the Damaged Tile: Use a chisel and a hammer to gently break and remove the tile without damaging the surrounding area.
- Clean the Area: Clean any old adhesive or grout remaining in the empty space to ensure a smooth surface for the new tile.
- Apply Tile Adhesive: Use a notched trowel to spread the adhesive evenly on the back of the tile.
- Place the New Tile: Press the new tile into place, ensuring it’s level with surrounding tiles.
- Let it Set: Allow the adhesive to dry according to the product instructions before moving onto grouting.

Grout Repair in Your Bathroom
A solid grout job can breathe new life into your bathroom’s appearance. Let’s explore how you can repair and even renew your grout:
Removing Old Grout
Before applying new grout, you will need to remove the old, damaged grout. This involves using a grout saw to carefully scrape out the old grout. This step is vital to ensure the new grout adheres properly and creates a watertight seal.
Applying New Grout
Once you’ve removed the old grout, it’s time to apply the new grout. Follow these steps for a flawless finish:
- Prepare the Grout: Mix the grout according to the package’s instructions.
- Apply the Grout: Use a grout float to apply the grout across the tiles, ensuring all gaps are filled.
- Clean Excess Grout: Use a damp sponge to gently wipe away excess grout from the surface of the tiles.
- Allow to Dry: Once the grout is applied, give it sufficient time to set and dry thoroughly before using the bathroom.
Sealing the Grout
Sealing your grout lines is the final important step. This protects the grout from moisture and prevents mold and mildew formation. Use a suitable grout sealer and follow the manufacturer’s guidelines for application and drying times.
Preventive Measures for Long-Lasting Tiles and Grout
Keeping your tiles and grout in good condition involves some preventive measures. This section will guide you on maintaining your bathroom’s beauty and functionality:
Regular Cleaning
Consistently clean your tiles and grout to prevent mold, mildew, and dirt buildup. A mild detergent and warm water can typically do the trick without damaging surfaces. Avoid harsh chemicals that can wear down grout over time.
Addressing Water Leaks
Water leaks can cause significant damage to both tiles and grout. Regularly inspect and repair leaks in plumbing fixtures to prevent moisture-related problems. Sealing shower heads and faucet bases can help minimize water exposure to grout.
Re-Caulking
Caulking your bathroom’s perimeter can prevent water from seeping into areas that can cause damage. Re-caulking every few years ensures the edges of tiles remain sealed against moisture.
When to Call a Professional
While many tile and grout repairs can be handled at home, there are times when professional assistance is necessary. If structural issues or extensive damage is present, or if you feel overwhelmed, contacting a professional can provide peace of mind and expertise.
Evaluating Professional Services
Hiring a professional can initially seem daunting, but knowing what to look for can ease this process. Consider the following tips:
- Experience and Reputation: Research and read reviews about potential services.
- Costs and Quotes: Request estimates from several professionals to ensure you’re getting a fair price.
- Licenses and Insurance: Make sure the service provider is licensed and insured to protect your home and investment.
Conclusion
Understanding bathroom tile and grout repair can empower you to manage your home maintenance more effectively. Repairing and maintaining tiles and grout is imperative for preserving both the appearance and function of your bathroom. By learning the causes and solutions, gathering the right tools, and knowing when to seek professional help, you can extend the life of your bathroom fixtures. With these insights, your bathroom can stay as a relaxing, visually-appealing space for years to come.


