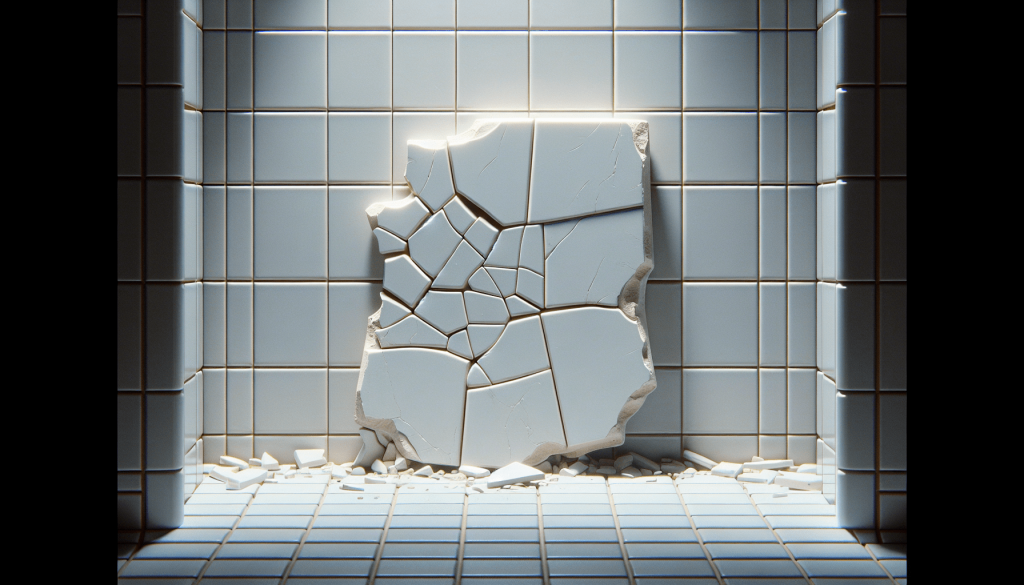
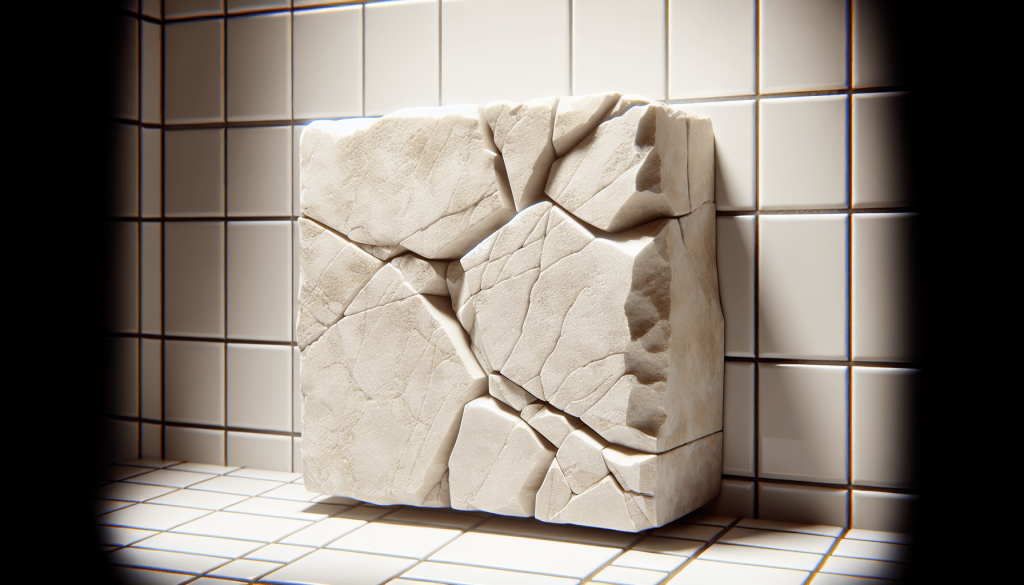
Have you ever walked into your bathroom, ready to enjoy a refreshing shower, only to notice that a tile is cracked or the grout is crumbling? Bathroom shower tiles not only serve a functional purpose by keeping water confined to your shower area, but they also add a touch of elegance to your bathroom’s overall aesthetic. When these tiles start showing signs of wear and tear, not only can it be an eyesore, but it might also lead to water damage if not attended to promptly. Let’s talk about how you can address bathroom shower tile repairs effectively and efficiently.

Understanding the Importance of Bathroom Shower Tile Maintenance
You might wonder why maintaining bathroom shower tiles is crucial. It goes beyond just aesthetics. Proper maintenance ensures the longevity of your shower and prevents potential water damage. Tiles and grout act as barriers against water seepage into your walls and floors. Ignoring damaged tiles or grout might seem harmless at first but could result in costly repairs down the line.
Why Tiles Crack or Break
Understanding the underlying reasons why tiles crack or break can help you prevent future issues. Common reasons for tile damage include:
- Improper Installation: If tiles are not installed correctly, they may not bond well to the substrate, leading to cracks.
- House Settling: Over time, houses settle, which might cause pressure on tiles resulting in cracks.
- Heavy Impact: Dropping something heavy in the shower can easily crack a tile.
- Water Damage: Excessive moisture can weaken the adhesive or cause expansion and contraction of materials.
Preparing for Bathroom Shower Tile Repair
Preparation is vital in ensuring a smooth repair process. Gathering the necessary tools and materials beforehand will save you time and make the task less daunting.
Tools and Materials You’ll Need
Before diving into the repair, ensure you have all the required tools and materials. Here’s a handy table to help you gather what you need:
| Tools | Materials |
|---|---|
| Tile Cutter | Replacement Tiles |
| Grout Float | Grout |
| Notched Trowel | Tile Adhesive |
| Mixing Paddle | Sealant |
| Safety Glasses | Waterproof Membrane (if needed) |
| Sponge | Cleaner |
| Tile Spacers | Bucket |
Safety First
Always prioritize safety. Wear safety glasses to protect your eyes from shards of tile and dust. If you are using any strong adhesives or cleaners, wearing gloves might also be advisable to protect your skin.

Step-by-Step Guide to Repairing Bathroom Shower Tiles
Ready to get started? Let’s walk through the process step by step. By carefully following these instructions, you can tackle most repairs with confidence.
Step 1: Remove the Damaged Tile
Begin by carefully removing the cracked or damaged tile. It’s essential to be gentle during this process to avoid damaging adjacent tiles.
- Chisel Out the Tile: Use a chisel and hammer to gently break and remove the tile. Start at the center and work your way out to reduce the risk of damaging nearby tiles.
- Remove Old Adhesive: Scrape away the old adhesive from the wall using a putty knife to ensure a smooth surface for the new tile.
Step 2: Prepare the Surface
Before placing the new tile, ensure the surface is clean and free of debris to allow the adhesive to bond effectively.
- Clean the Area: Use a damp sponge to wipe the area clean, removing all dust and debris.
Step 3: Install the New Tile
With the old tile and adhesive removed, you’re ready to install the new tile.
- Apply Tile Adhesive: Use a notched trowel to spread adhesive over the area in a thin, even layer.
- Set the Tile: Press the replacement tile into place, using tile spacers to maintain even spacing and alignment with surrounding tiles.
- Allow to Set: Let the adhesive cure for at least 24 hours before moving on to the next step.
Step 4: Grout the Tile
Grouting is the final step in ensuring your tile is sealed and secured.
- Mix the Grout: Follow the instructions on the grout package to mix it to the right consistency.
- Apply Grout: Use a grout float to spread grout over the joints, packing it in firmly.
- Clean Excess Grout: Wipe away excess grout from the tile surface using a damp sponge, taking care not to remove grout from the joints.
- Cure: Allow the grout to cure according to the manufacturer’s instructions, usually about 24 to 48 hours.
Dealing with Grout Issues
Cracked or missing grout can lead to water seepage, weakening the structure over time. It’s crucial to handle grout issues promptly.
Re-Grouting Tips
When re-grouting, the type of grout depends on the tile and the conditions in your shower.
- Remove Old Grout: Use a grout saw to carefully remove the old grout without damaging the tiles.
- Choose the Right Grout: For showers, choose a waterproof type, such as epoxy grout, which is more resistant to mold and water.
Preventive Measures to Extend Tile Life
Prevention is always better than cure. By taking a few simple steps, you can extend the lifespan of your shower tiles.
Regular Cleaning
Regular cleaning prevents soap scum and mildew buildup, which can deteriorate grout and tiles.
- Use Mild Cleaners: Avoid harsh chemicals that could eat away at the grout.
- Seal Grout Annually: Sealing grout creates a barrier against moisture and stains.
Maintain Ventilation
Proper ventilation reduces humidity levels, preventing moisture buildup that can damage tiles and grout.
- Install an Exhaust Fan: Use an exhaust fan to pull moisture-laden air out of the bathroom.
- Open Windows: If possible, open windows after using the shower to let fresh air circulate.
Address Small Issues Promptly
Just as a small tile crack can lead to bigger problems, so can delays in addressing them.
- Regular Inspections: Check for early signs of tiles loosening or cracking.
- Fix Leaks: Address any plumbing leaks immediately.
When to Call a Professional
While many tile repairs are manageable DIY projects, some situations call for professional intervention.
Signs You Need Professional Help
Consider calling a professional if you encounter:
- Extensive Damage: Large areas of damage might require more involved repairs.
- Water Damage: If water damage is evident, a professional might need to inspect and ensure there’s no structural damage.
Benefits of Professional Repair
Hiring a professional can ensure the repair is done efficiently and may save you time and effort.
- Expertise: Professionals have the experience to identify and address underlying issues you might not spot.
- Quality Assurance: A professional repair offers peace of mind, knowing the repair is durable and aesthetically pleasing.
Conclusion
Repairing bathroom shower tiles doesn’t have to be an intimidating task. With the right tools, materials, and a bit of patience, you can make your shower look as good as new. Remember to prioritize preventive measures to safeguard against future tile problems, and don’t hesitate to seek professional help when in doubt. Your shower can continue to be your sanctuary, free of cracks and leaks, with a little care and attention.


